
Modus Operandi
1. Product Selection and Customization Process:
a. Which module are you interested in?
- LIVE-VUE
- LIVE-VAG
- LIVE-CRU
- LIVE-FAR
- LIVE-SOL
b. What specific products are you looking for?
- Wall Art Framing
- Photo Framing

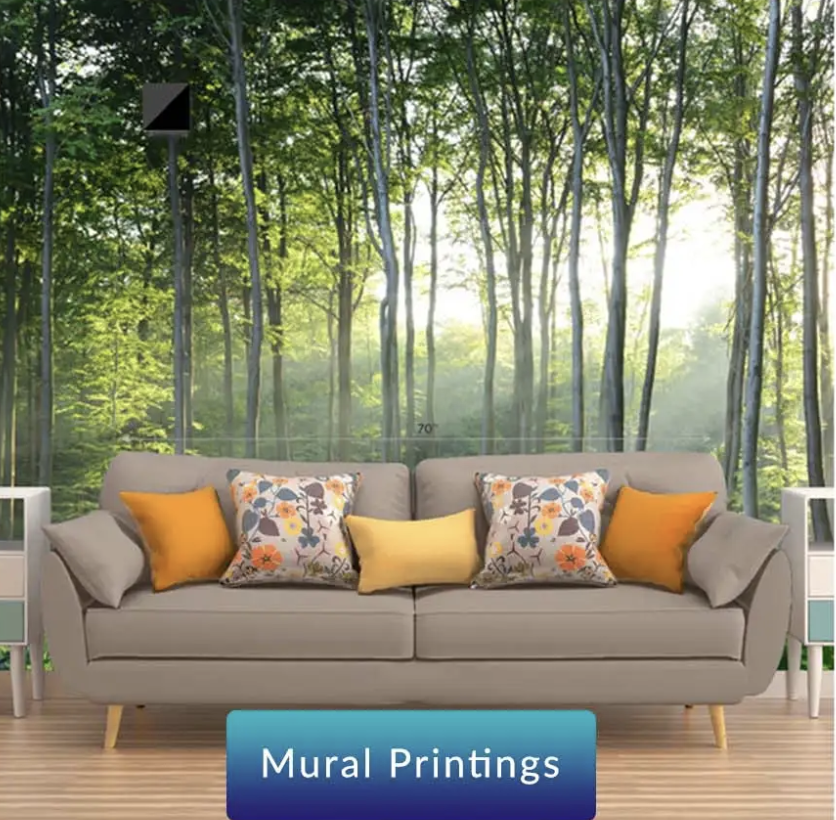
- Mural Painting/Tiles
- Acrylic HD

- Mirror Framing

- Canvas Wrap

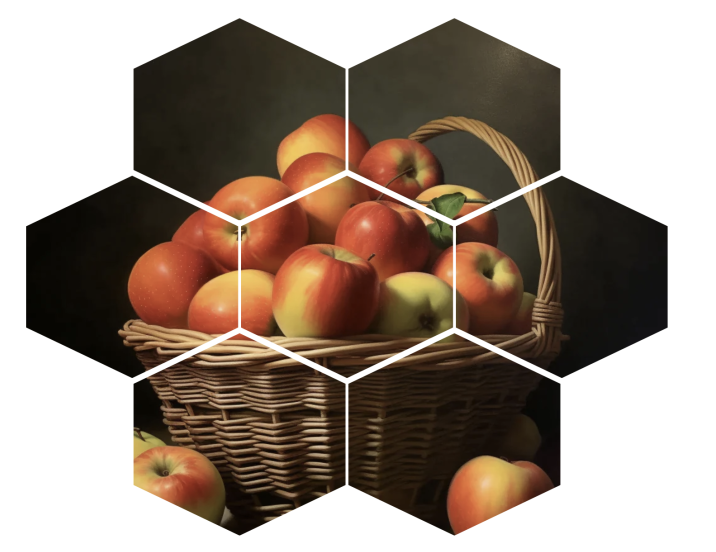
- Split Panels & Multi Piece Painting
c. Which of the following essential features would you like to include for the product(s) you intend to showcase on your website?
- Complex Framing
- Custom Upload
- Virtual Frame View
- Frame View with Mat
- Frame View with Double Mat
- Default Model Rooms
- Customize Wall Color
- Advanced Room View – Upload Your Own Room
- Collage View with Multiple Images Upload
- Side View for Frameless Mount
- 360º Rotational View
- 2D View
- 3D View
- Standard Pricing
- Predefined Pricing
- Custom Pricing
- Web AR View
- Zoom VUE
You can also refer to the GIF images for these features at the following link: [https://livearf.com/livevue-feature-pricing/]
d. Customization and Communication Process:
You can provide your inputs for your product(s) based on the questions mentioned above. Once you’ve provided your preferences and specific requirements, we will maintain a Google sheet on livearf.acumen@gmail.com for your Product(s) and features. This Google sheet will serve as a communication channel between our development team and you.
Here’s how the process will work:
- You share your desired features and customizations for each product with us.
- We will incorporate the features you requested into your websites and update the progress on the Google sheet ( if that particular module is not available yet )
- The Google sheet will be frequently updated, allowing you to track the development status and ensure all your requirements are met.
For your reference, Menlo Park, one of our current esteemed customers, is utilizing the Google sheet for their product customization needs.

e. Pricing for Your Product:
You can follow the LIVEARf use case flow for pricing, outlined in our knowledge base https://livearf.com/knowledge-base. If your product requires custom formulas or complex calculations, you can provide them in a Google sheet. This ensures accurate pricing configuration on your website, tailored to your business needs.
2. Frames 🖼️ & Frame Groups:
We can showcase a wide variety of frames across different collections with complex framing features.
At Complex Framing, we can accommodate any number of frames . But we suggest about 100 frames in a grouped manner, so that the buyer will be able to make a decision. When we offer too many options for an online buyer, the buyer will delay the buying decision.
Complex Framing Examples:
Client Stores : MenloParkFraming
FrameHive Preview Code: dilolt
While the Frame Groups feature is not configurable on the LIVEARf admin app, you can provide your frame collections through Google Sheets and we will configure them on your behalf with their respective Frame Group names.
Otherwise, simply create a Folder with its Frame Group name in livearf.acumen@gmail.com’s Google Drive and organize corresponding frames within it. This way, we can access and organize them on your website’s framing sections.
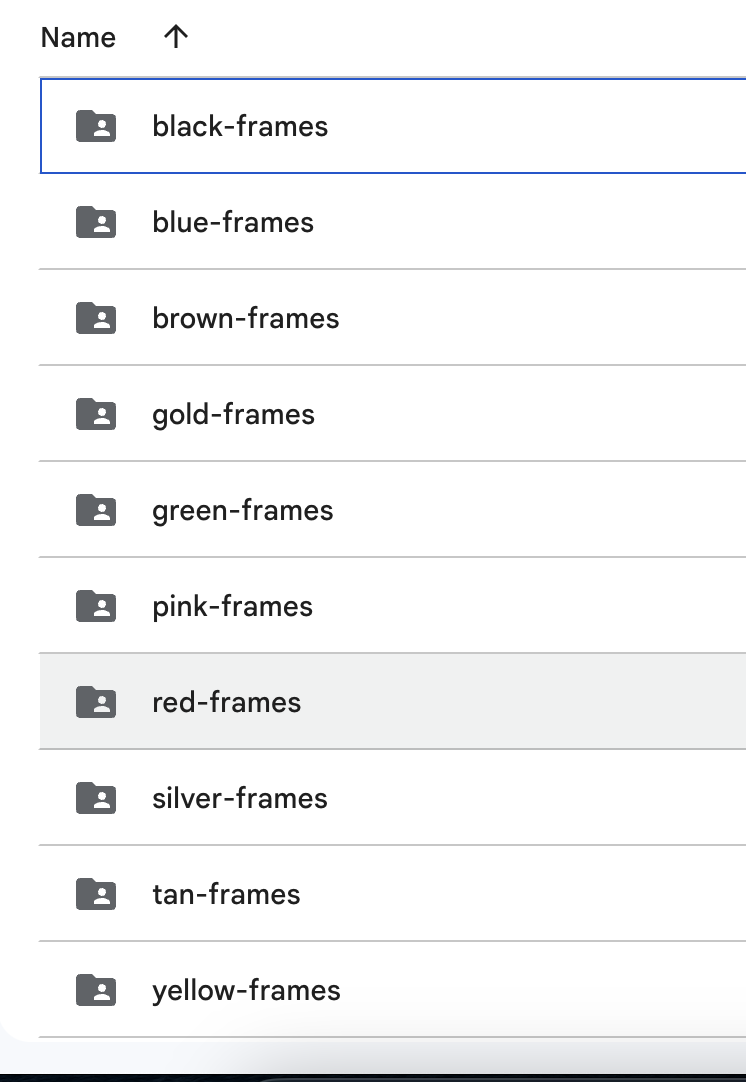
Based on your input, we will group the frames on your website. For instance, when users click the “Gold” button, it will display a list of Golden frames below.

2.1 Vendor URL and Vendor Code:
Vendor URL:
You can provide the URL of the vendor from whom you purchased frames or frame products in Google Sheets.
Like this: https://www.omegamoulding.com/product/detail/3-4-matte-black-square-e83852-84354

Vendor Code:
Additionally, if you include the vendor code or identifier associated with each frame or frame group, we can organize them accordingly. We will add this information to the ‘Add to Cart’ section, This will help you to identify the order of the customer accurately.
For example: Menlo Park is using this vendor code for their frames. For the red color, they have assigned the vendor code ‘P_Red_Lavo_10776’. We are displaying this vendor code on the ‘Add to Cart’ page.

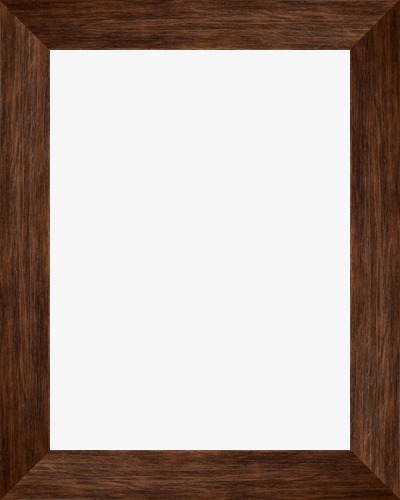
2.2 Photographic frames:
You can provide Photographic frames. Just provide the frame photographs taken from a top angle.
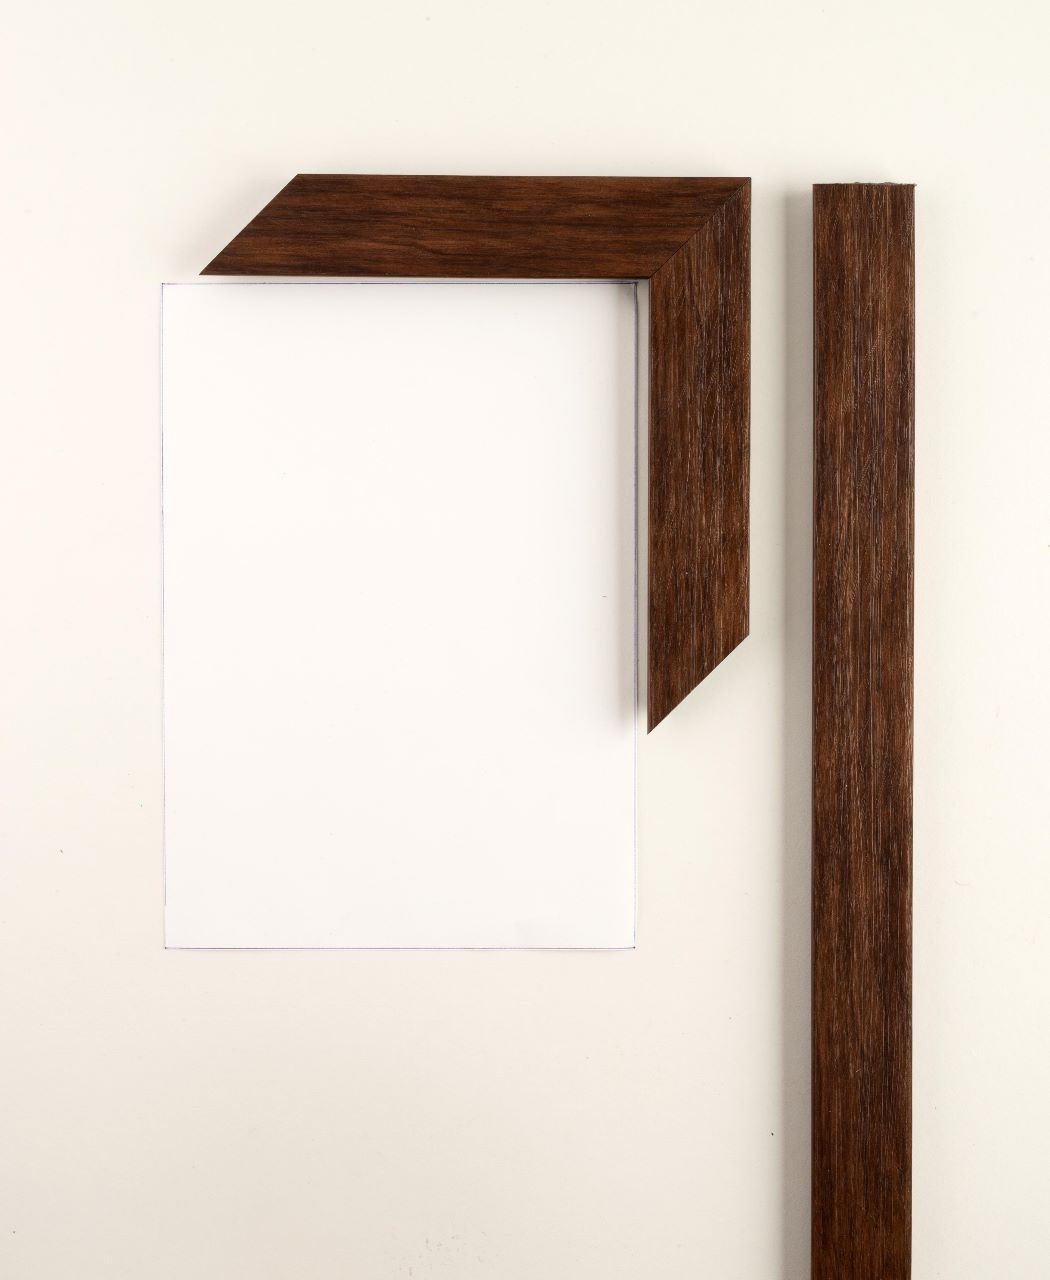
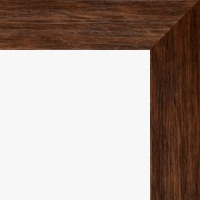
We require two frame photos for each frame – one for framing purposes and another for the icon representation.We have software that can generate full-frame 🖼️ images as well as corner images for icons.
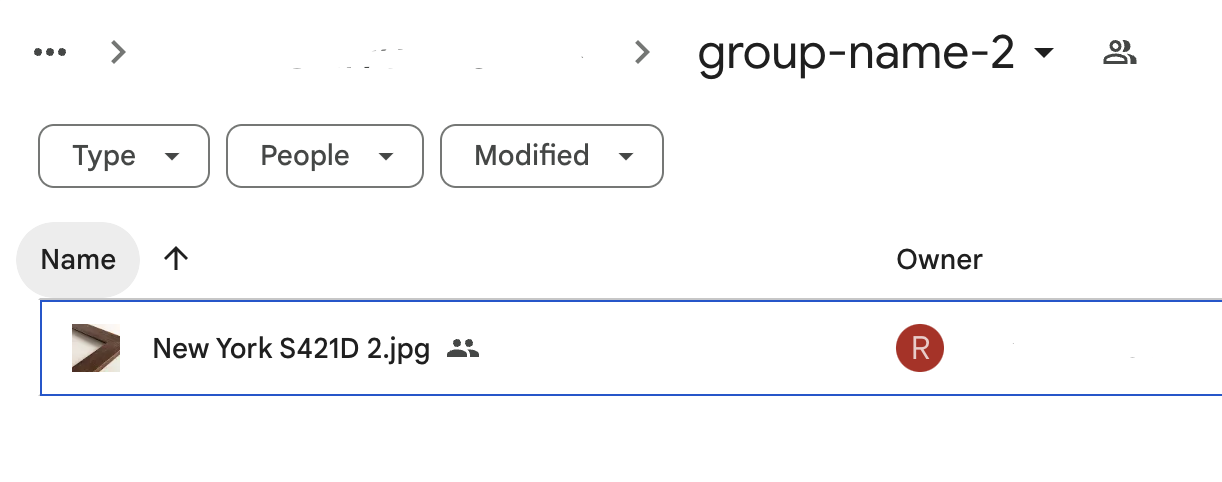
Create a Google Drive folder for each frame group and organize the photographic frames accordingly. Like this:

If you provide a name or ID for your frame, we will include it on the “Add to Cart” page so that you can easily identify and track the frame order during the checkout process.
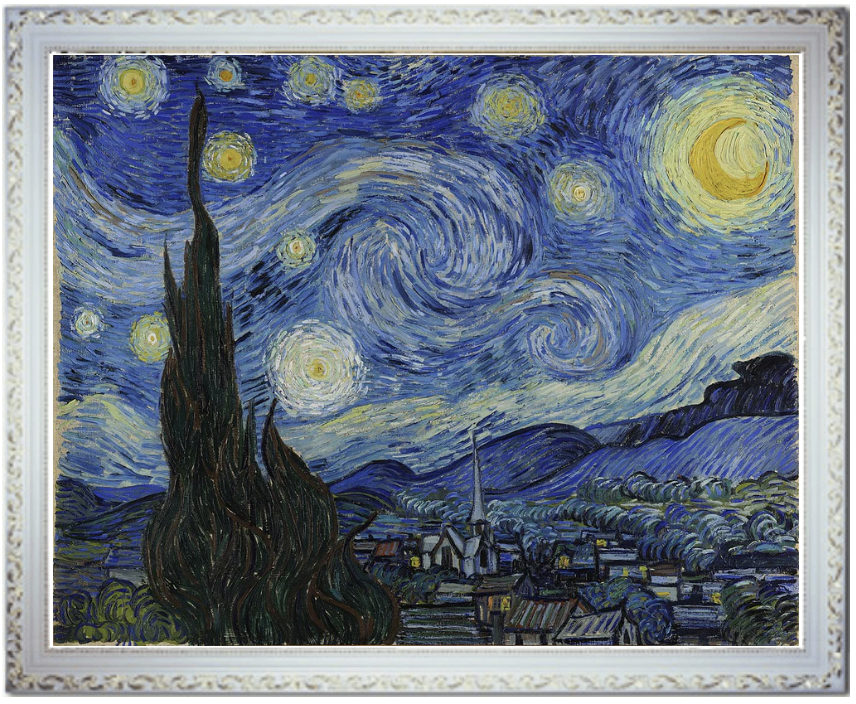
3. Best Practices for Enabling LIVEARf Artwork 🖼️ Products Setup:
Obtain high-quality images of your artwork
3.1 Uploading Images to Shopify:
- Log in to your Shopify admin panel. Then navigate to “Products” in the left-hand menu and select “Add product.”
- Under the “Media” add the following images:
- First image: Clean, without any background, mat, or frames, to provide a clear view of the artwork.

- Second image: Framed and displayed in a room or on a table to give customers a sense of how it would look in their space.

- Additional Images (Optional) : If you have more images to showcase (e.g., additional angles, close-ups, or room settings), add them as 3rd, 4th, and subsequent images in the product gallery

6. Gallery View
We will keep them in the gallery view !
- Your product gallery will display all the images you’ve uploaded for the product.
- Customers can click through the images to see different views of the artwork
